


 Direct purchase from the factory


1.You can contact the customer service. for any question regarding the product.
2.Ask the question in English to get answer faster.
3.Keep your question short and to the point.
Questions:0/2000
 USD $ | United States
 USD $ | United States
 GBP £ | United Kingdom
 HKD HK$ | Hong Kong
 CNY ¥ | China
 JPY ¥ | Japan
 EUR € | Euro
EUR € | Germany
EUR € | Italy
EUR € | Spain
EUR € | Euro
EUR € | Germany
EUR € | Italy
EUR € | Spain
 SBD SI$ | Solomon Islands
 PGK K | Papua New Guinea
 THB ฿ | Thailand
 ILS ₪ | Israel
 VND ₫ | Vietnam
 MGA Ar | Madagascar
 XAG | Silver
 IDR Rp | Indonesia
 HTG G | Haiti
 PHP ₱ | Philippines
 MXN $ | Mexico
 WST WS$ | Samoa
 CAD $ | Canada
 LSL L | Lesotho
 BWP P | Botswana
 KRW ₩ | South Korea
 KWD د.ك | Kuwait
 LAK ₭ | Laos
 LKR Rs | Sri Lanka
 TRY ₺ | Turkey
 PKR Rs | Pakistan
 CHF Fr | Switzerland
 PLN zł | Poland
 QAR ر.ق | Qatar
 NAD N$ | Namibia
 MOP MOP$ | Macau
 EGP ج.م | Egypt
 MWK MK | Malawi
 VES Bs.S | Venezuela
 ECS S/ | Ecuador
 OMR ر.ع. | Oman
 XDR | IMF
 LTL Lt | Lithuania
 TJS SM | Tajikistan
 BBD Bds$ | Barbados
 BRL R$ | Brazil
 BZD BZ$ | Belize
 CRC ₡ | Costa Rica
 IRR ﷼ | Iran
 AED د.إ | United Arab Emirates
 PAB B/ | Panama
 VUV VT | Vanuatu
 DOP RD$ | Dominican Republic
 XOF CFA | West Africa
 AWG ƒ | Aruba
 YER ﷼ | Yemen
 XCD EC$ | East Caribbean
 GHS GH₵ | Ghana
 BDT ৳ | Bangladesh
 SRD $ | Suriname
 GMD D | Gambia
 MVR Rf | Maldives
 SVC $ | El Salvador
 BND B$ | Brunei
 GIP £ | Gibraltar
 SHP £ | Saint Helena
 GTQ Q | Guatemala
 AFN ؋ | Afghanistan
 IQD ع.د | Iraq
 AZN ₼ | Azerbaijan
 JOD د.ا | Jordan
 CLP $ | Chile
 BHD .د.ب | Bahrain
 NIO C$ | Nicaragua
 NGN ₦ | Nigeria
 UZS so'm | Uzbekistan
 ERN Nfk | Eritrea
 ANG ƒ | Netherlands
 KYD CI$ | Cayman Islands
 SYP £S | Syria
 SDG ج.س. | Sudan
 LBP ل.ل | Lebanon
 HNL L | Honduras
 DJF Fdj | Djibouti
 TTD TT$ | Trinidad and Tobago
 KHR ៛ | Cambodia
 AOA Kz | Angola
 RWF FRw | Rwanda
 GNF FG | Guinea
 GEL ₾ | Georgia
 FKP £ | Falkland Islands
 BOB Bs. | Bolivia
 CDF FC | Congo
 ETB Br | Ethiopia
 LRD L$ | Liberia
 SOS Sh | Mali
 DZD دج | Algeria
 BIF FBu | Burundi
 SAR ر.س | Saudi Arabia
 UYU $U | Uruguay
 UGX USh | Uganda
 AMD ֏ | Armenia
 MDL L | Moldova
 SGD S$ | Singapore
 LYD ل.د | Libya
 MAD د.م. | Morocco
 ZAR R | South Africa
 TWD NT$ | Taiwan
 HUF Ft | Hungary
 XAF CFA | Central Africa
 SEK kr | Sweden
 RON lei | Romania
 FJD FJ$ | Fiji
 DKK kr | Denmark
 CVE $ | Cape Verde
 RSD din | Serbia
 ISK kr | Iceland
 MZN MT | Mozambique
 ALL L | Albania
 BGN лв | Bulgaria
 BAM KM | Bosnia and Herzegovina
 XPF F | Pacific
 TND د.ت | Tunisia
 JMD J$ | Jamaica
 CNH ¥ | China
 CZK Kč | Czech Republic
 SZL E | Eswatini
 AUD $ | Australia
 NOK kr | Norway
 KES KSh | Kenya
 NZD $ | New Zealand
 MNT ₮ | Mongolia
 RUB ₽ | Russia
 KZT ₸ | Kazakhstan
 XAU | Gold
 KGS с | Kyrgyzstan
 INR ₹ | India
 NPR रू | Nepal
 TOP T$ | Tonga
 ETH Ξ | Ethereum
 SCR ₨ | Seychelles
 Multi Rotor PartsFPV SystemRadios & ReceiverBattery & ChargerTools & Bags & StorageConnector & Cable & WireRC ServosElectronic Learning ToysPlane & Parachute ToysSolar Powered ToysPottery Clay & ToolsPaper Art & DrawingBlocks & Track ToysModel BuildingDiecasts & Model ToysProtective GearsMotorcycle LightsCharger & Socket AdapterMotorcycle Engines & ComponentMotorcycle HelmetMotorcycle DIY KitsMotorcycle AccessoriesMotorcycle Alarm & SecurityCar Stickers & DecalsCar CoversWindow FoilsCar Protective FilmCar Protective Film Body ArmorLicense Plate AccessoriesDIY Electronic KitsElectronic Accessories & SuppliesModule ComponentsBoard & ShieldExpansion Board & ShieldSmart ModuleSensor & Detector ModulePower Supply ModuleRaspberry Pi & Orange PiSecurity Alarm SystemSmart Remote ControlWeather Station & ThermometerAccess Control & IntercomsHome Automatic KitsAutomation ModulesClocksHome Decor StickerDecorative PaintingDecorative CraftsStorage BagsStorage BoxesItems Storage & OrganizationSeedsWatering & IrrigationGarden LightsPest Control ProductsBathroom ApplianceShowerhead & AccessoriesBathroom Storage & OrganisationBathroom SafetyDoor Hardware & LocksIndustrial HardwareDecorative HardwarePackaging & ShippingStorage & OrganizationFurniture HardwareKitchen Tools & GadgetsDrinkware & Tea SetsBakeware & AccessoriesHome Brewing & Wine MakingKitchen Knife & CutleryBarbecue & Picnic SuppliesDinnerware & FlatwareXiaomi Kitchen Appliance
Ordainketa Segurua Bermaturik

 Opari Doan
 Bidalketa Politika
 Itzulketa Politika
A part of the review has been auto-translated.

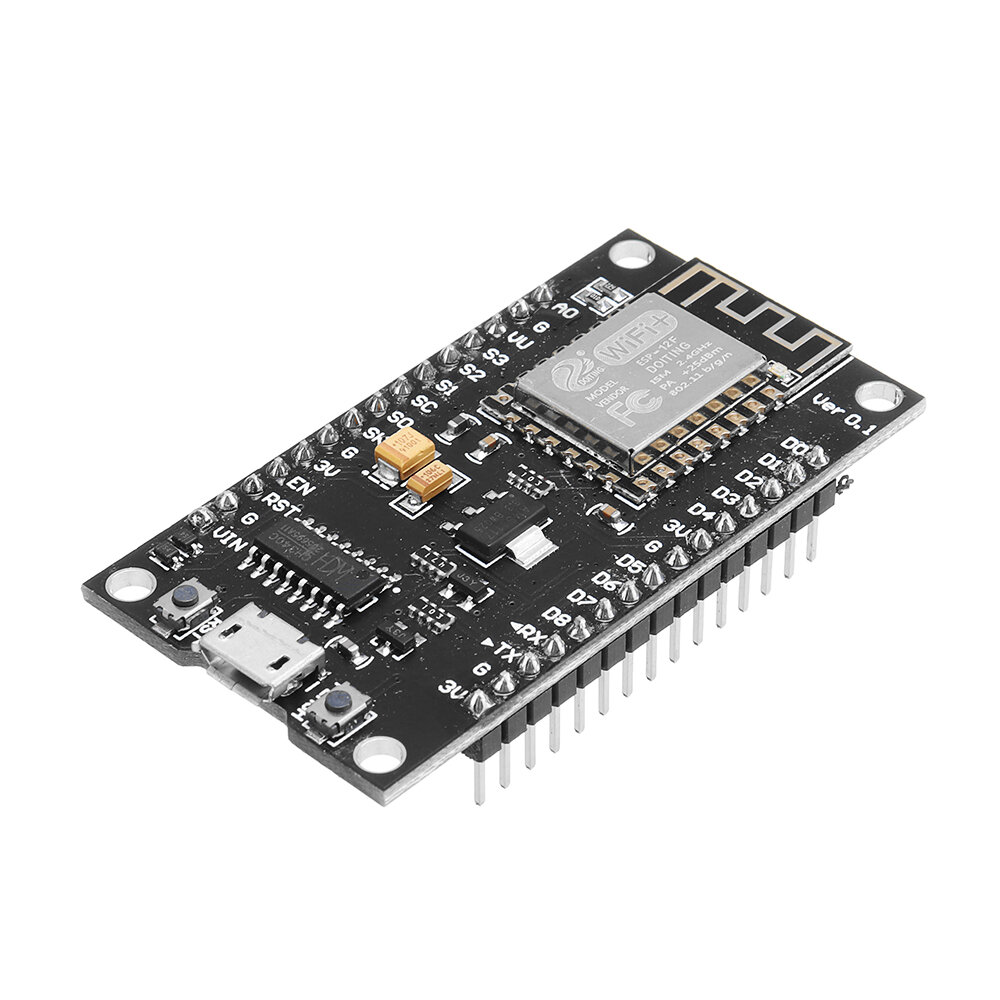
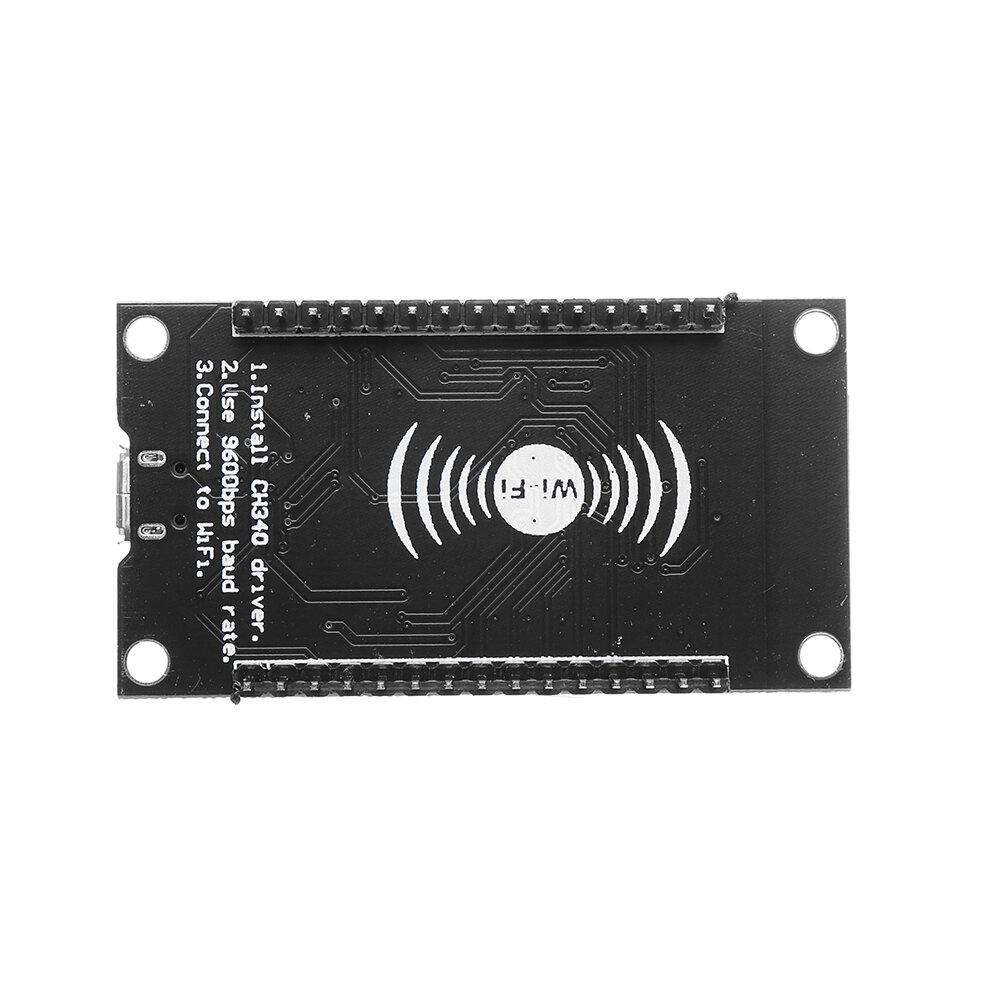
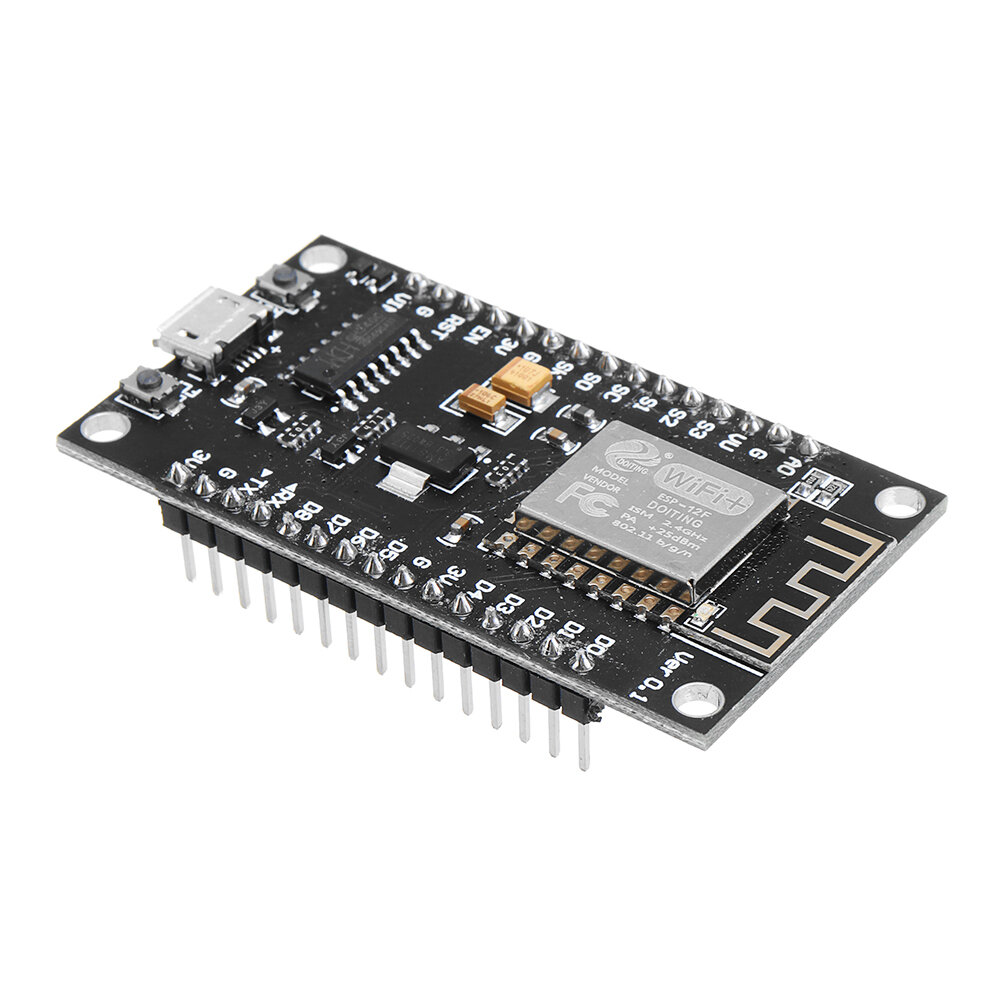
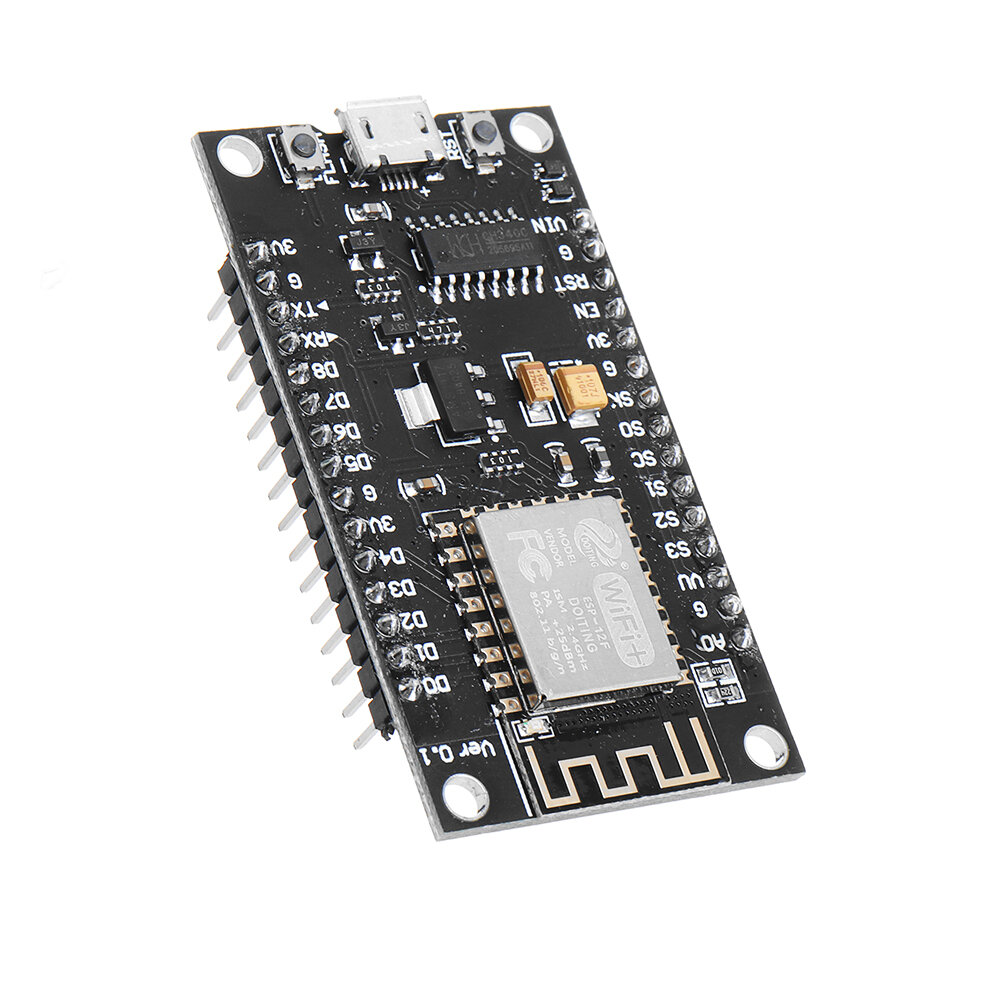
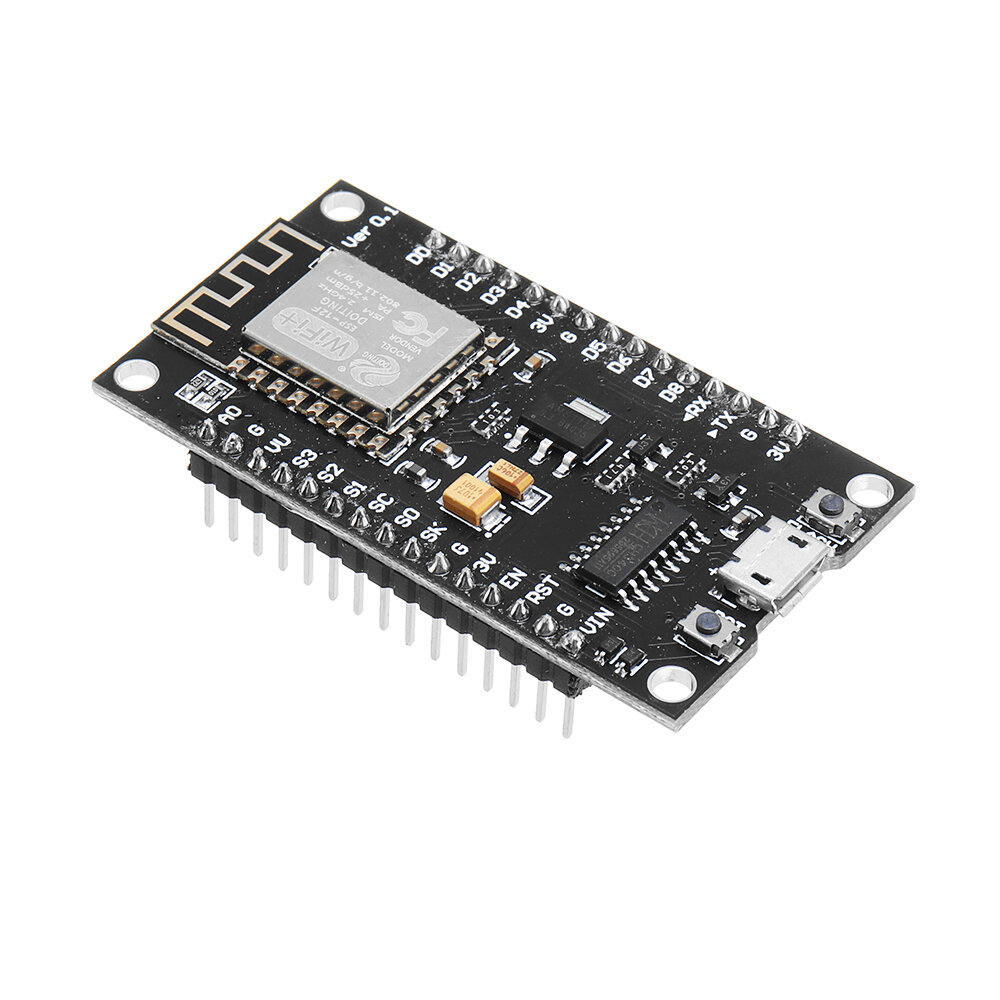
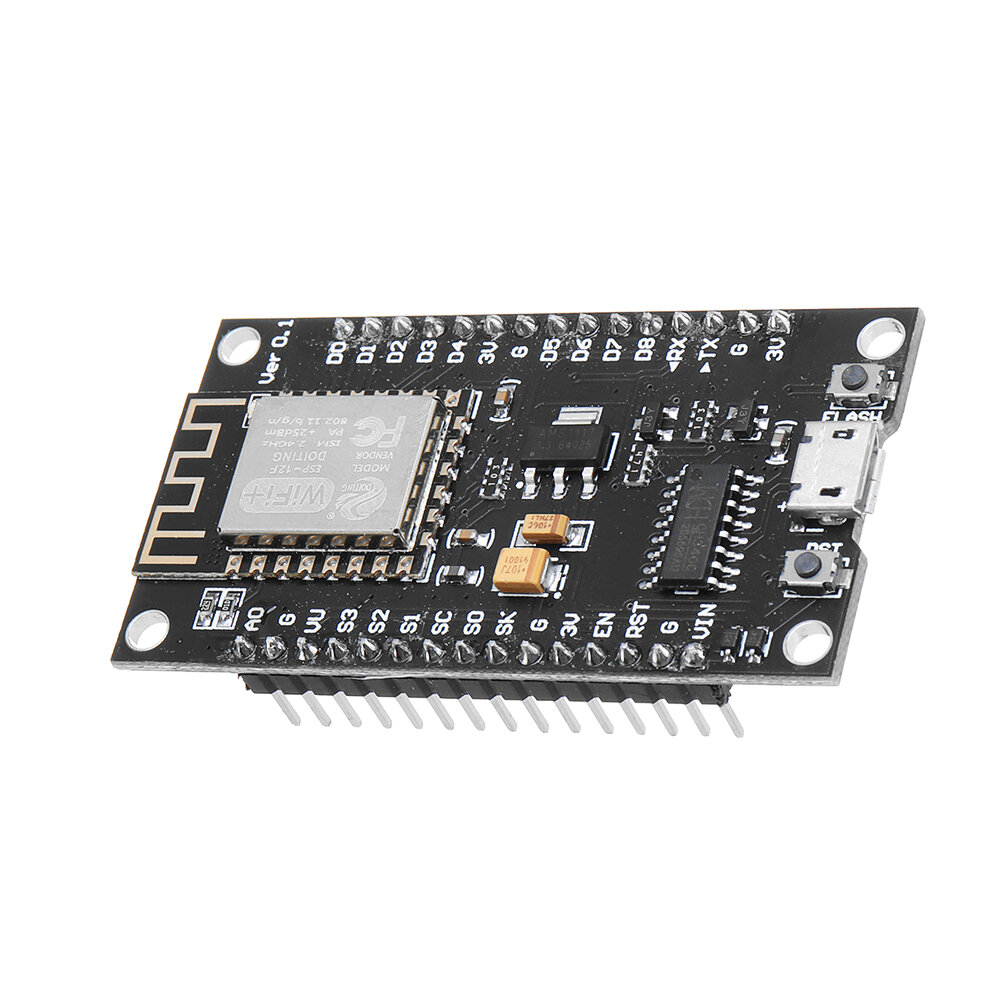
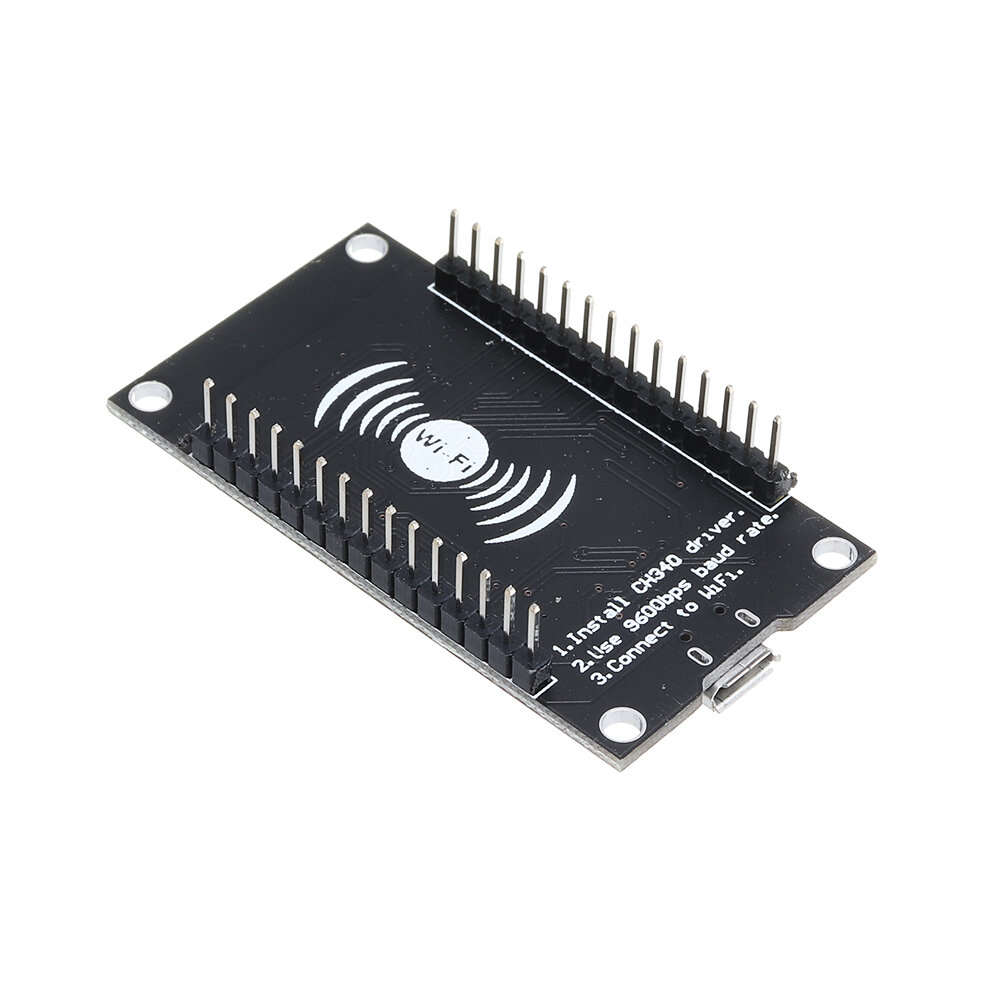
Fantastic quality board for a fantastic price. I already had the CH340 USB driver installed for a different board so the NodeMCU worked right away with Arduino IDE. There are 3 main ways to use this:
- Program it using Lua, I believe the firmware it comes with supports this although I didn't try it.
- Write code for it in Arduino IDE (C++). This is the most flexible and highest-performance option, and gives you access to extensive libraries available in Arduino IDE with one button click. Environment is very similar to coding for Arduino.
- Use it as a "dumb" WiFi peripheral with AT commands sent over the serial port from another CPU (Hayes modem style). The firmware you need to load for this is fairly easily found on the web.
Note that it's wider than some other NodeMCU boards so it doesn't leave any connection points available beside it when on a standard project board, but this is easily solved using some non-stranded hookup wire connected underneath.


10pcs in perfect condition i am so happy with these!


Tips:For questions about your order, place of delivery, product discount, taxation, delivery time, warranty, shipping, payment, exchange rate, and other questions unrelated to the product, please contact customer service.
A part of the QA has been auto-translated.
Jaso markaren berri eta %15 deskontua zure lehenengo eskaeran.
USD $ | United States USD $ | United States
GBP £ | United Kingdom
HKD HK$ | Hong Kong
CNY ¥ | China
JPY ¥ | Japan
EUR € | Euro
EUR € | Germany
EUR € | Italy
EUR € | Spain
SBD SI$ | Solomon Islands
PGK K | Papua New Guinea
THB ฿ | Thailand
ILS ₪ | Israel
VND ₫ | Vietnam
MGA Ar | Madagascar
XAG | Silver
IDR Rp | Indonesia
HTG G | Haiti
PHP ₱ | Philippines
MXN $ | Mexico
WST WS$ | Samoa
CAD $ | Canada
LSL L | Lesotho
BWP P | Botswana
KRW ₩ | South Korea
KWD د.ك | Kuwait
LAK ₭ | Laos
LKR Rs | Sri Lanka
TRY ₺ | Turkey
PKR Rs | Pakistan
CHF Fr | Switzerland
PLN zł | Poland
QAR ر.ق | Qatar
NAD N$ | Namibia
MOP MOP$ | Macau
EGP ج.م | Egypt
MWK MK | Malawi
VES Bs.S | Venezuela
ECS S/ | Ecuador
OMR ر.ع. | Oman
XDR | IMF
LTL Lt | Lithuania
TJS SM | Tajikistan
BBD Bds$ | Barbados
BRL R$ | Brazil
BZD BZ$ | Belize
CRC ₡ | Costa Rica
IRR ﷼ | Iran
AED د.إ | United Arab Emirates
PAB B/ | Panama
VUV VT | Vanuatu
DOP RD$ | Dominican Republic
XOF CFA | West Africa
AWG ƒ | Aruba
YER ﷼ | Yemen
XCD EC$ | East Caribbean
GHS GH₵ | Ghana
BDT ৳ | Bangladesh
SRD $ | Suriname
GMD D | Gambia
MVR Rf | Maldives
SVC $ | El Salvador
BND B$ | Brunei
GIP £ | Gibraltar
SHP £ | Saint Helena
GTQ Q | Guatemala
AFN ؋ | Afghanistan
IQD ع.د | Iraq
AZN ₼ | Azerbaijan
JOD د.ا | Jordan
CLP $ | Chile
BHD .د.ب | Bahrain
NIO C$ | Nicaragua
NGN ₦ | Nigeria
UZS so'm | Uzbekistan
ERN Nfk | Eritrea
ANG ƒ | Netherlands
KYD CI$ | Cayman Islands
SYP £S | Syria
SDG ج.س. | Sudan
LBP ل.ل | Lebanon
HNL L | Honduras
DJF Fdj | Djibouti
TTD TT$ | Trinidad and Tobago
KHR ៛ | Cambodia
AOA Kz | Angola
RWF FRw | Rwanda
GNF FG | Guinea
GEL ₾ | Georgia
FKP £ | Falkland Islands
BOB Bs. | Bolivia
CDF FC | Congo
ETB Br | Ethiopia
LRD L$ | Liberia
SOS Sh | Mali
DZD دج | Algeria
BIF FBu | Burundi
SAR ر.س | Saudi Arabia
UYU $U | Uruguay
UGX USh | Uganda
AMD ֏ | Armenia
MDL L | Moldova
SGD S$ | Singapore
LYD ل.د | Libya
MAD د.م. | Morocco
ZAR R | South Africa
TWD NT$ | Taiwan
HUF Ft | Hungary
XAF CFA | Central Africa
SEK kr | Sweden
RON lei | Romania
FJD FJ$ | Fiji
DKK kr | Denmark
CVE $ | Cape Verde
RSD din | Serbia
ISK kr | Iceland
MZN MT | Mozambique
ALL L | Albania
BGN лв | Bulgaria
BAM KM | Bosnia and Herzegovina
XPF F | Pacific
TND د.ت | Tunisia
JMD J$ | Jamaica
CNH ¥ | China
CZK Kč | Czech Republic
SZL E | Eswatini
AUD $ | Australia
NOK kr | Norway
KES KSh | Kenya
NZD $ | New Zealand
MNT ₮ | Mongolia
RUB ₽ | Russia
KZT ₸ | Kazakhstan
XAU | Gold
KGS с | Kyrgyzstan
INR ₹ | India
NPR रू | Nepal
TOP T$ | Tonga
ETH Ξ | Ethereum
SCR ₨ | Seychelles

Hi ?
How can we help?


